


Here at ChatGenie, we make it a priority to ensure that merchants do as little work as possible on the backend so they can focus on more important aspects of online selling.
One such example of how our team developers sought to make things easier for merchants is the Shopify Bundle. With this, existing Shopify store owners can instantly migrate their store content to start selling on ChatGenie stores inside Facebook Messenger, Instagram, Viber, and GCash.
No need to repeat the tedious process of uploading online store details like product photos and descriptions manually!
HERE’S HOW YOU CAN CREATE YOUR CHATGENIE MINI APP WITH THE SHOPIFY BUNDLE
1. SIGN IN
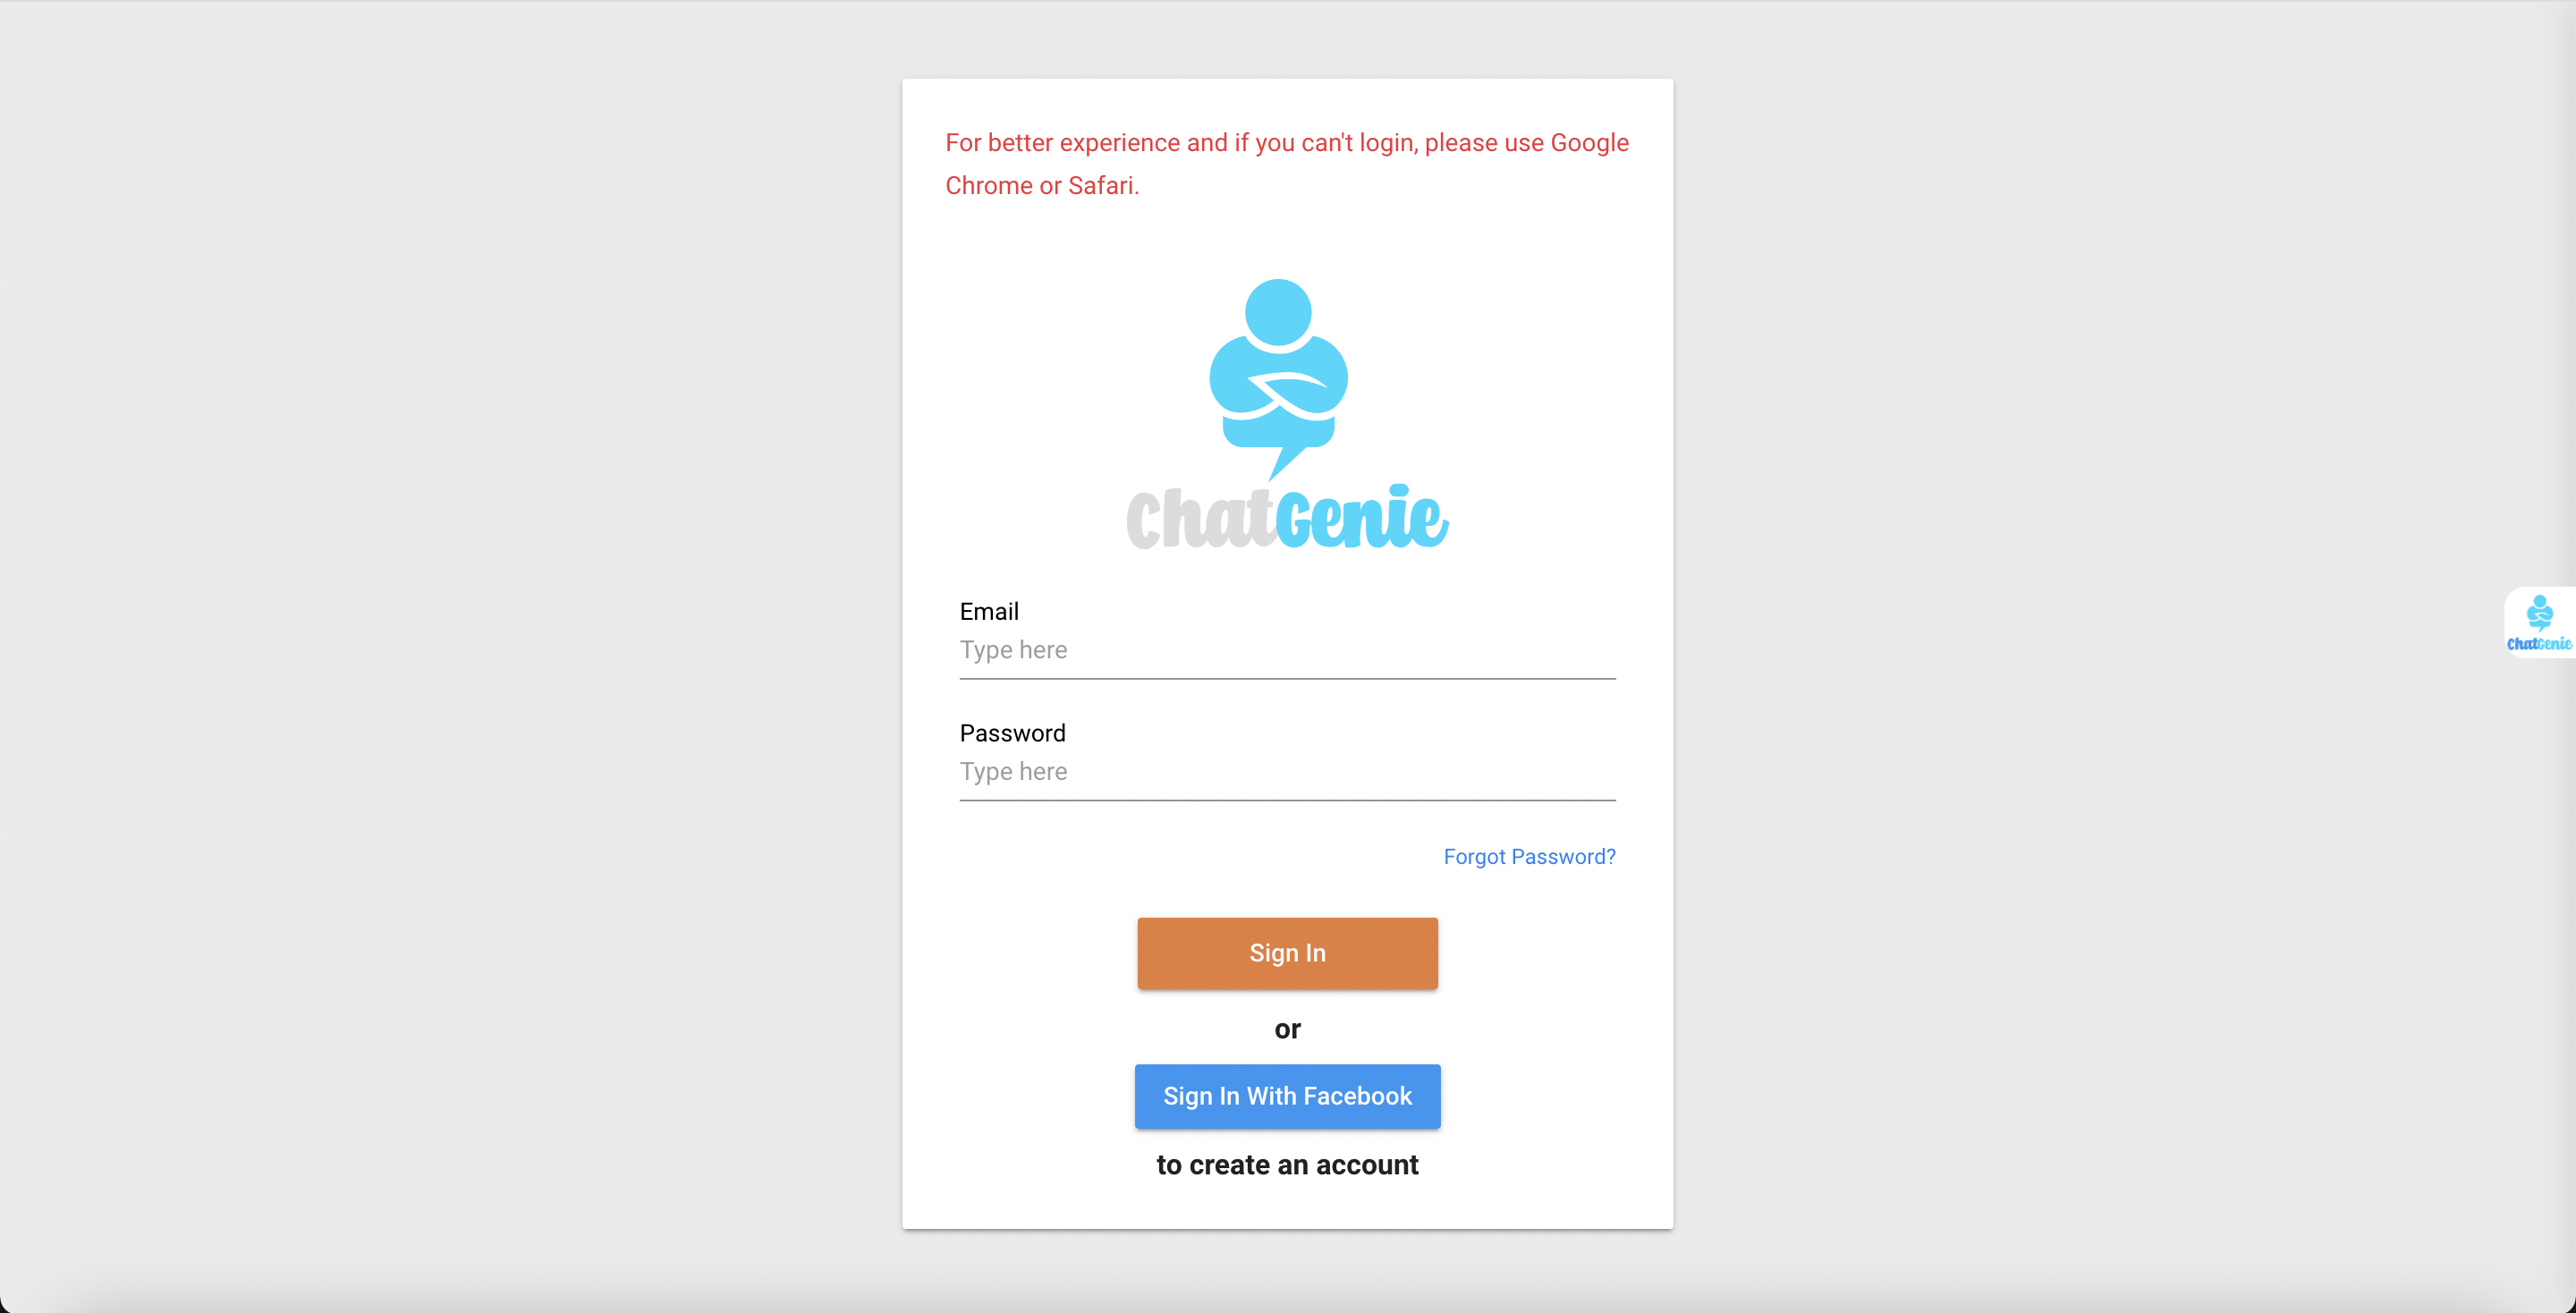
First, simply go to ChatGenie and click on the SIGN UP FOR FREE button. You can sign in using your email or sign in with Facebook. After signing in, choose what Facebook Page you want to connect to your ChatGenie Mini App. After linking your Facebook Page, go to the MY MINI APPS Dashboard and click the CREATE MINI APP button.
2. CUSTOMIZE YOUR MINI APP
After choosing the Shopify Bundle, you will be asked to Customize Your Mini App. You can use this portion to personalize your Mini App as you please. You can change the default App Name, Greeting, and Welcome Message here.

3. CONFIGURE YOUR SHOPIFY SETTINGS
Once you’ve finished customizing your Mini App Online Store, you’re going to configure your Shopify Settings next. Visit your Shopify account to get the details needed for the Shopify Settings section. On your Shopify dashboard, click on Apps, scroll down and look for Manage Private Apps, and click Create New Private App. Afterward, enter your Private App Name—ideally the same App Name you used in your ChatGenie Dashboard. Input your business email for the Emergency developer email after that and then expand/show the inactive Admin API and Storefront API permissions. Kindly follow the instructions on your ChatGenie dashboard on which permissions to enable. An API Key and Password will be generated once you’ve successfully set your API permissions. Kindly copy and paste these to your ChatGenie Dashboard. You will also need the Webhook API version, which can be found before the Storefront API permissions. Copy the numeric version to your ChatGenie Dashboard. For example, in Shopify, it 2022-01 (Latest), only copy “2022-01” to your ChatGenie Dashboard. Make sure that you copy this exactly the way it is to ensure that the syncing process goes through without a hitch!
Once you’ve configured these settings, your Shopify store will be instantly migrated into your ChatGenie Mini App Online Store.


With the Shopify integration process dealt with, the next few steps can be considered as finishing touches.
Just like ChatGenie stores created thru the B2C Bundle, those made using the Shopify Bundle can be configured to your liking.
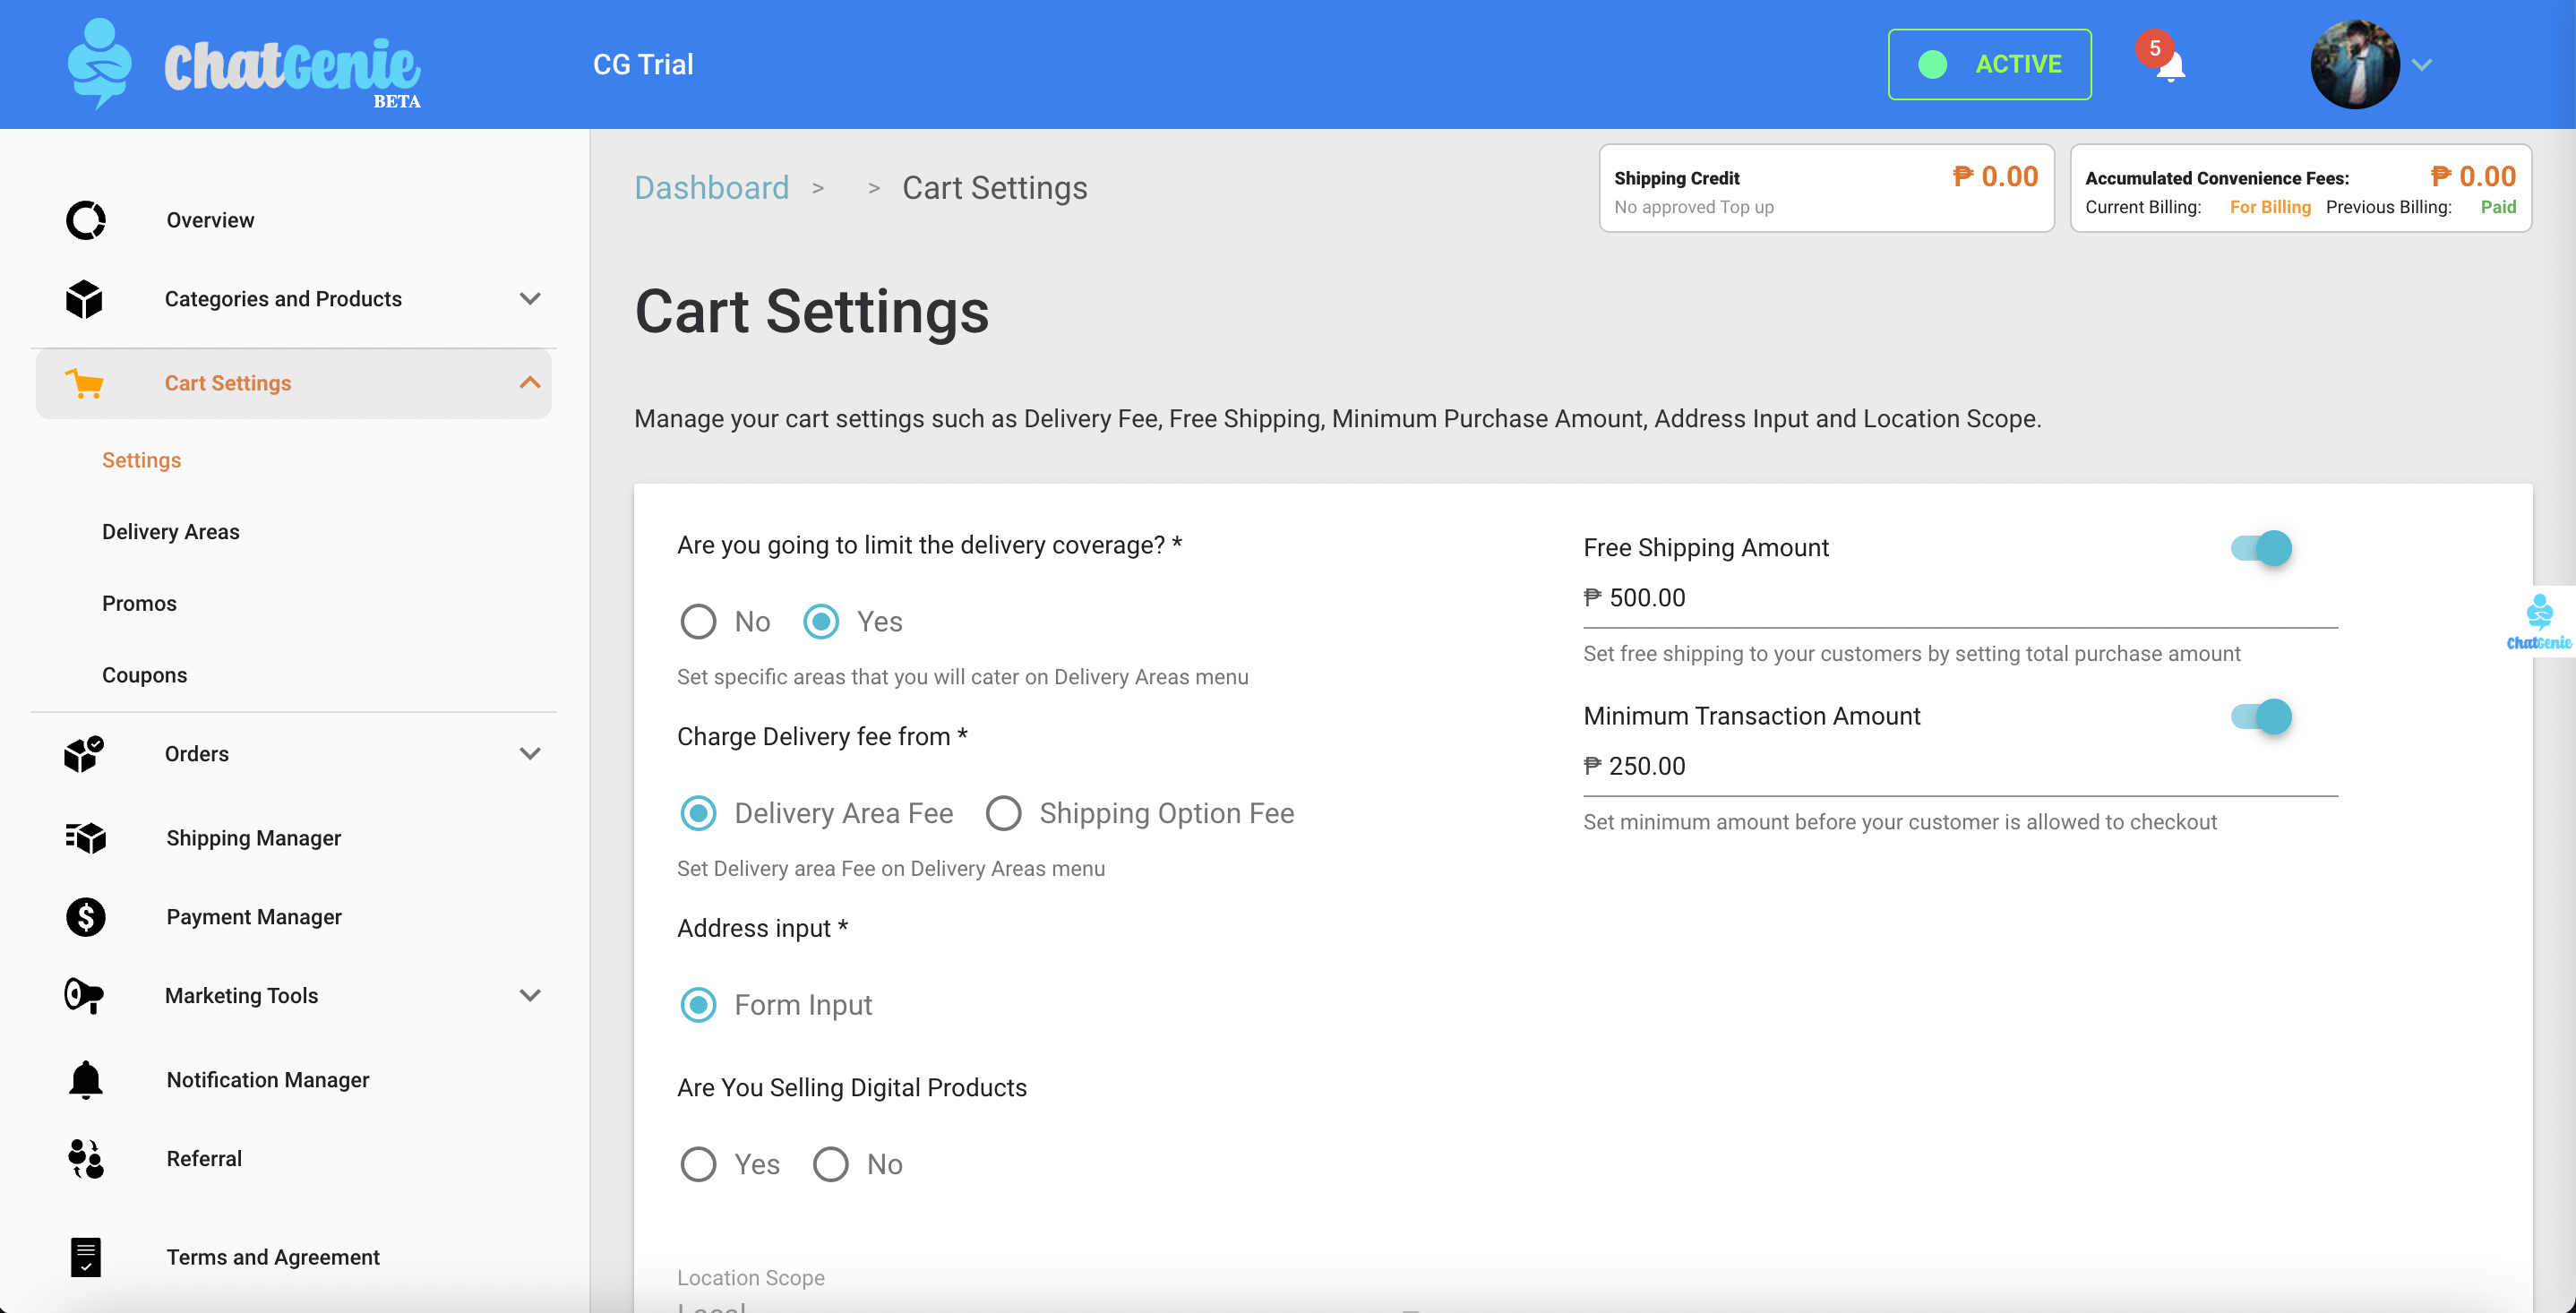
Managing the Cart Settings will help you designate your delivery area, adjust your shipping fees, and set your minimum transaction amounts. The Delivery Areas setting, by default, is blank for nationwide delivery but you can limit this to a specific region and city. You can also choose to activate third-party delivery options like Grab Express and Lalamove in this portion by checking the box for Customer Initiated Shipping.
Trackable promos like Coupon Codes can also be created in the ChatGenie dashboard. Details such as promo value or amount, usage limit, start and end date, and the start time and end time are easily customizable.
You can also choose one of two Payment Options. The Manual Payment option is ideal for cash on delivery or bank deposits while Online Payment Options such as GCash, BPI Online Banking, and PayMongo are perfect for convenient transactions.
Selecting Team Members to manage the Mini App is also part of the configuration process. To do this, go to the General Store Manager. Just make sure that your chosen managers are already admins of your chosen Facebook Page and add their respective email addresses.
Now for the final step! After you’ve set all your Mini App configurations, you can finally click Launch Your Mini App. Your Mini App Online Store is ready! Congratulations!

Before we forget, we’d like to announce exciting updates for Shopify store owners that have taken effect over the past few months.
In January, the Shopify Sync Button was introduced. With this update, you can now seamlessly sync your Shopify product catalog with your Mini Apps in Messenger, Viber, or GLife.
February came with two new feature updates. The introduction of the Shopify Sync Order and Payment Status update ensured that changes in order status inside ChatGenie stores will automatically be reflected in linked Shopify accounts.
Shopify API Adjustments were also announced in February. With the internal changes made by Shopify regarding their private apps, ChatGenie merchants were required to update their Shopify credentials.
That’s a wrap for this blog post! We hope you were able to follow the steps listed with ease.
For client concerns, feel free to send us a message via Submit a request – ChatGenie.


